


Two of my friends from University had their first child a couple of weeks ago and I thought this might make a cute gift...I'd made a couple before, and had honestly forgotten how quick and addictive they are! Below I've detailed the rough principle -I sort of bodge it as I go along, but once you've done the first one and as long as you keep note of the maths, it's pretty easy to adapt to whatever size you like!
You will need:
50g ball of double-knit wool (the basic acrylic stuff is fine, save the posh merino for when you know it works!)
5 double pointed needles, 4mm work really well to start with
A stitch marker or safety pin
A tapestry/darning needle to work in the ends
Scraps and crochet hook for decoration of your choice
To Make:
Cast on a number stitches that it divisible by 4. As a guide, 64 stitches will make a hat that should fit a baby 1-6 months (depending on your tension). Spread the sticthes over 4 needles (16 each in this example) and join with a slip stitch. Knit happily around in circles for 4-5 inches (if your sprog is there to measure, so much the better!).
The decreasy-slopey bit: This makes the curved bit that goes over the head...regardless of the number of original cast on stitches the rule for a nice curve, is divide the number by 2 and subtract 2 and use this as a starting point. So, with 16 stitches on a needle, divide by 2 =8, subtract 2 = 6. First row decrease is therefore knit 6, knit 2 together all the way around, second decrease row is knit 5, knit 2 together all the way around and so on until you are left with only 4 stitches in total! This is where placing a stitch marker at the start is helpful so if you have to make a cup of tea, you know where you are.
The taggy bit: Once you have 4 stitches, you need to have put them all on one needle (which in fairness you probably did a while ago during the reductions unless you have octopus fingers). Knit about 6 inches of cord, which is basically knitting the four, then taking the wool clockwise around the back, shunting the stitches to the other end of the needle and continue...For anyone who had a french knitting dolly when they were a kid, this is the same principle!
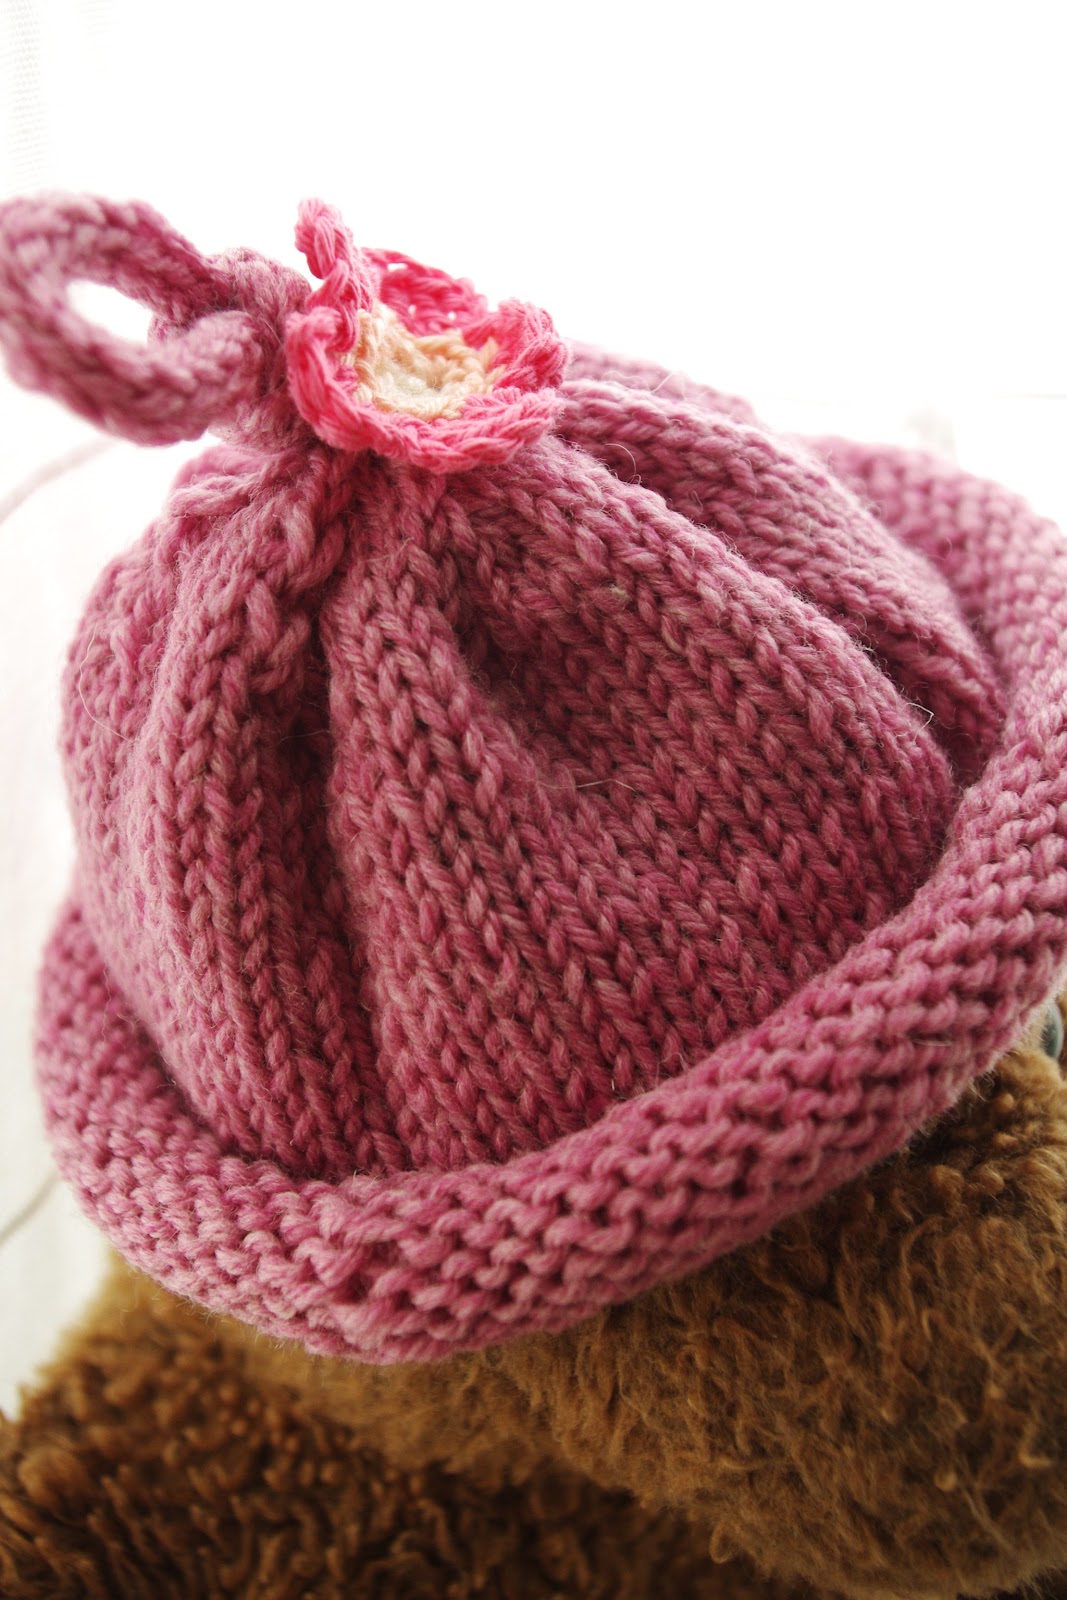
The finishy bit: Cast off, and sew in ends. With a little one, a like to knot securely the cord up to reduce the chance of chewing and sew the end of the cord firmly in. Then adorn with whatever flower/bug/edging you like, just remembering that it needs to be little-sprog friendly and therefore securely attached. Beading and buttons may look beautiful for christenings etc, but they need to be supervised at all times as there is a choke risk...Keep it simple and make it out of yarn!
Any questions about how this works, feel free to ask -other addictive offerings can be found on Etsy.com soon...
Hi Mrs Beaton - thanks for visiting my blog - I've just been having a little wander through your blog. Love it. My kind of blog! Fantastic photography! I'm going to forward your "grow it don't mow it" post to my sister - she'll love it!!
ReplyDeleteI'm sure your friends will love the adorable little beanie. Lovely to meet you in blogland.
This is a lovely wee hat! I have it on display in my house and everyone comments on how beautiful it is! I can't wait until it turns colder and to put it on Sophie as she will look amazing in it! Thanks Crump xxx
ReplyDelete